
This feature helps you to quickly get a report of the charged lengths and area, that you would like to charge your customer. Once the charged lengths are set as appropriate to you, you can take a print out of the invoice or email it to the customer. It also allows you to customize the range of charged lengths.
Print : Press this button to get the total charged length output in RTF format.
Update : If you edit the Charged Length and Width column manually, the same does not get reflected immediately on the Charged Area column. To update the same click on Update button.
Increment Length and Width by . . : ![]() It allows you to Increase or decrease the charged sizes by a certain
amount.
It allows you to Increase or decrease the charged sizes by a certain
amount.
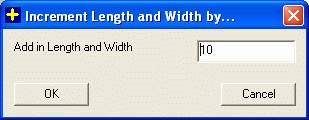
E.g. : If you input 10 then all the charged sizes will increment by 10. And if you input -10 then all the charged sizes will be reduced by 10.
Thus if you want to increment all the charged sizes by same amount, you won't need to manually change each and every entry. Just click Increment Length and Width button and type the required value and click ok. All the sizes will automatically be incremented by the same amount.
Set Charge Sizes. . . : ![]() It allows you to change the type of charge size. After pressing this button,
another dialog pops up
It allows you to change the type of charge size. After pressing this button,
another dialog pops up
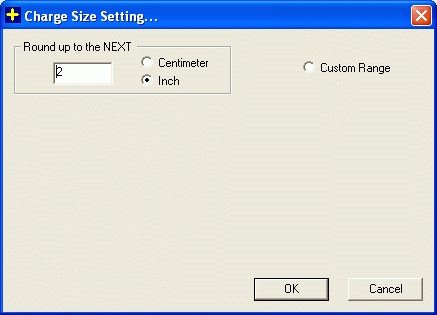
Here you have an option to either set charge sizes to your custom range or Round up to the Next "N" centimeter or Inch, where N = 1, 2, 3... and so on.
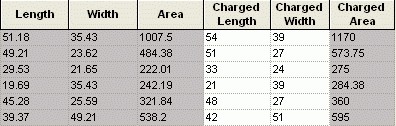
The picture below shows the actual lengths and area and the charged lengths and area when charge size is set to Round up to the next 2 inch.

If charge size is set to Round up to next 3 inch, then the charged lengths will be as shown below.
If you select Custom Range, then you can define your own range for the charged size.

By default the custom range is set to charge size to next 6th inch.
So, if any length less than 6 inch (152.4 mm) will be charged as 152.4, similarly any length in between 30 inch (762 mm) and 36 inch (914.4 mm) will be charged as 914.4 and so on.
Note: When you select the Next Even Centimeter, area in the charged length and areas dialog will be displayed in m2 . If you select Next Even Inch the area will be displayed in the Sq. ft. If you select Custom Range, then area will be displayed in the Application area unit. To set Application area unit select Tools -> Unit Settings. . . menu.