Creation of NC code for Hegla Machine using PLUS 2D is very simple. To get the NC code file follow the procedure after optimization as given below.
Before you start generating the NC codes, you will need to do the following one time setting.
1. Click on NC Links -> NC options menu. You will get a dialog box for "NC Controller Settings..." as follows.
In that dialog box select Hegla100 as a controller
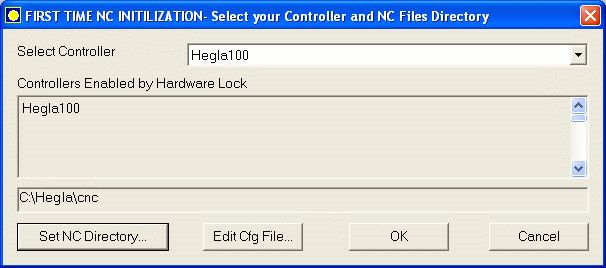
Figure 1 : Selecting controller and setting of path.
2. Specify the path where you want to save the ".EDI" files.
Click on "Set NC Directory...", a Browse for Folder dialog, as shown below, will open, here you can select the folder in which you want PLUS 2D to create the ".EDI" file.
For e.g.: Set the NC directory to
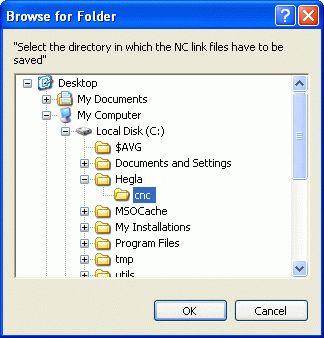
Figure 1 : Path selection
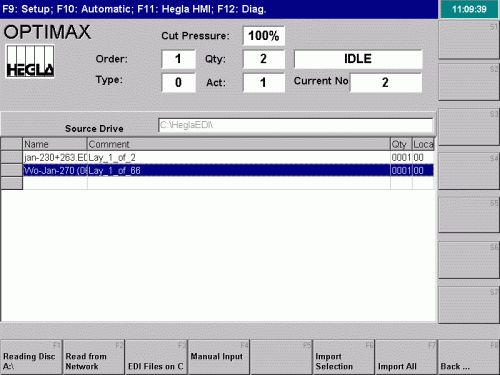
Generation of .EDI file in PLUS 2D
Once the above settings are done, you are ready to create the NC code files.
1. Optimize the job and check out all the layouts.
2. Now, For generating the necessary code click
ons "Hegla100" button ![]() from output
page. An ".EDI" file will be generated in the path specified in the NC
options.
from output
page. An ".EDI" file will be generated in the path specified in the NC
options.