This issue occurs because our installation uses Install.hta, an HTML application (HTA). Some Antivirus program, like Norton Antivirus, may generate a warning message when an HTA file runs. They incorrectly classify this scripts as something malicious and give a message like
Malicious Script Detected
High Risk
Your computer is halted and needs to do something about this script.
Please refer to the following article which explains a workaround for a similar case of Microsoft Installation Script...
http://support.microsoft.com/default.aspx?scid=kb;en-us;867484
We can suggest two workarounds for the above mentioned problem.
Method 1: Allow the script to run once and complete the installation.
In the dialog box of the antivirus program that has stopped the script from running, such as the Norton Antivirus box, click Allow the entire script once and then click OK.
Follow the steps to complete the installation of the programs.
Method 2: You may install the software manually...
Start Windows Explorer, and then locate the CD-ROM Drive that contains the "PLUS" Cd.
Right click on the "PLUS" Cd and then click "Install PLUS 2D" to Install the PLUS 2D Optimization software.
Right click on the "PLUS" Cd and then click "Install Demos" to Install the demo movies for PLUS 2D.
To enable Nirvana Macro for label printing you will have to follow the procedure shown below:
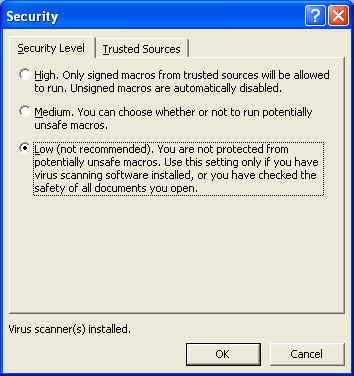
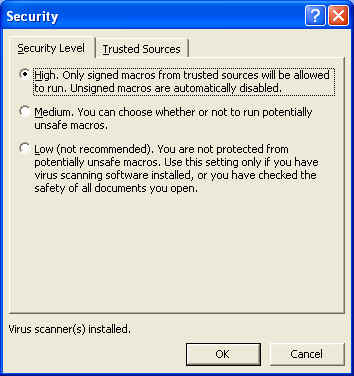
1. Before you start installing Macros, please set the security level of macros in Word as Low. Goto Tools -> Macro -> Security... Initially the security level will be set to high. Set the security level to Low as shown below.
2. Now from PLUS 2D, click send labels to word button in output page.
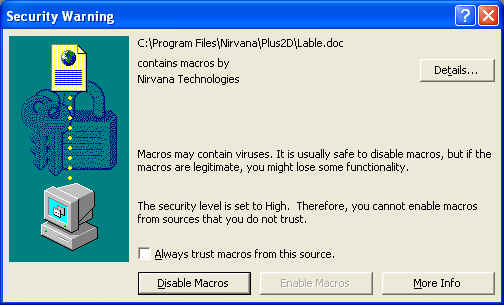
3. Word will open and you will see the following dialog on your screen.
4. Click on the Details button shown in the dialog. One more dialog called Digital signature details will open.
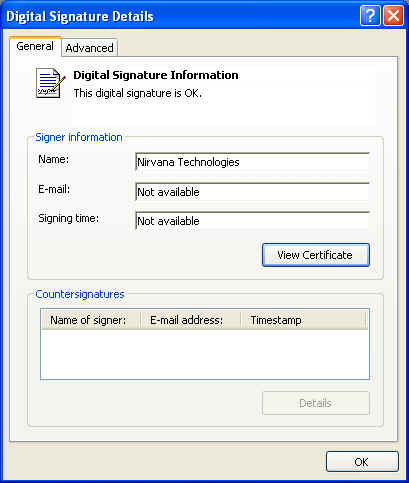
5. Click on the View Certificate button. You will see a Certificate dialog.
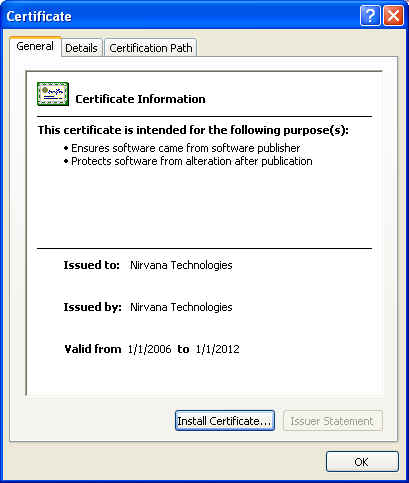
6. Click on the Install certificate... button. A Certificate Import Wizard will open up.
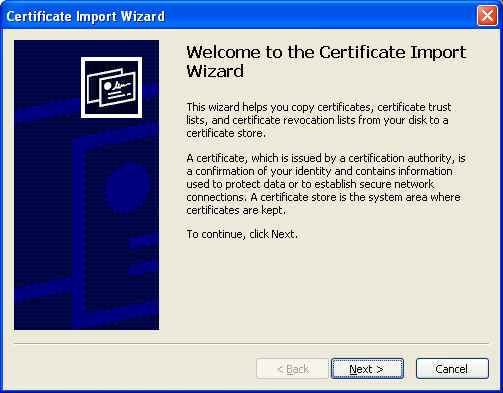
7. Click Next.
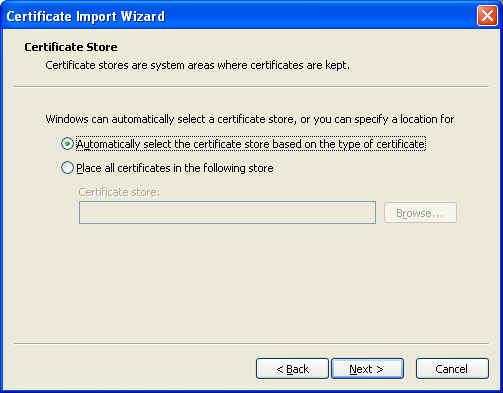
8. Select the first option and click Next.
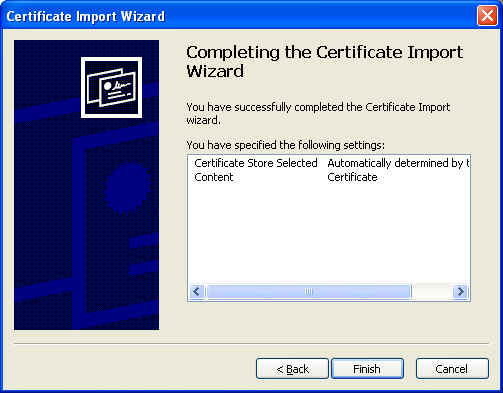
9. Click on Finish. You will get a message on your screen as shown below.
10. Click Ok. And close the Word document that is open.
11. Set the security level back to High, for Macro in Word before going ahead. (Tools -> Macro -> Security...)
12. Now from PLUS 2D, again click Send to Labels button on Output page. Word opens up and you will see a Security Warning dialog.
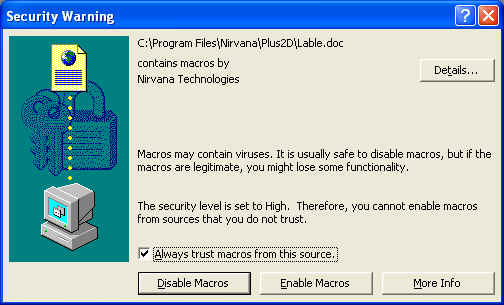
13. Check the checkbox saying Always trust macros from this source. On doing so Enable Macros button will be enabled. On clicking it you will see the following dialog.
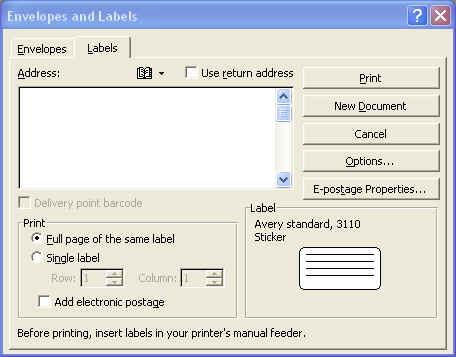
14. As soon as you click New Document, Word starts printing the Labels.
The next time you click Send labels to Word from PLUS 2D only the above dialog will come from where you can choose the format of label, etc.
Error 14: Indicates that License server is not found. This could mean that either the server is not running or there is some problem reaching the server.
Hence please check out the following...
1. Is PLUS 2D server running. If so, it will indicate the IP addresses of the computers it has issued a license.
In case only few users cannot reach the server, then please check out the following additional points...
1. The TCP/IP is correctly enabled and the network is enabled.
2. The IP addresses are of the same sub-net, i.e., only the last tuple of the IP address is different for the client computer.
IP address xxx.xxx.xxx.NNN, where only NNN can be different for the client computer from the server IP address.
3. Some Antivirus/Firewall software is blocking the "PLUS 2D nesting software" application, in which case it should be added to the list of exceptions. (See the Windows Firewall, if you are using the standard Windows Firewall).

4. The client was not properly installed, hence the drivers did not get installed properly. Reinstall should solve the problem.
Normally we have clients connecting to the PLUS2D server, to access the Hardware Lock. The standalone system does not have a network, so the network server fails to start correctly. As a consequence, PLUS2D client cannot get the License, and works in demo mode.
To make the PLUS server working on a standalone system you will have to install a VIRTUAL network by installing a "Loopback Adapter". Once you have installed the virtual network you can start PLUS server program.
The Microsoft Loopback adapter is a testing tool for a virtual network environment where network access is not available. You can bind network clients, protocols and other network configuration items to the Loopback adapter and you can install the network adapter driver or network adapter later while retaining the network configuration information.
To manually install the Loopback adapter in Windows XP, follow this steps :
1. Click start and then click control panel. Because this is XP, you may have it set up this way, or you may have your interface set up in Classic view. Either way, navigate your way to 'Add Hardware', or 'Printers and other Hardware'
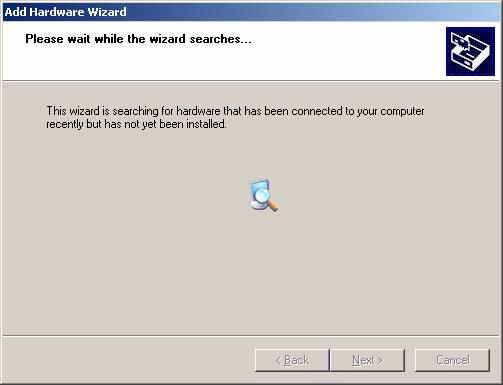
2. Launch the wizard to Add Hardware to your system. Do not be confused because you are not actually installing any new hardware, just simply adding a 'network adapter' which is acting as a virtual adapter.
3. Click next once you have launched the wizard. You will see a series of dialog boxes open to ask you about scanning for hardware changes, etc - you will want to do everything manually in this exercise. There will be no automatic scanning for any reason because you have not installed anything, the installation will immediately fail.
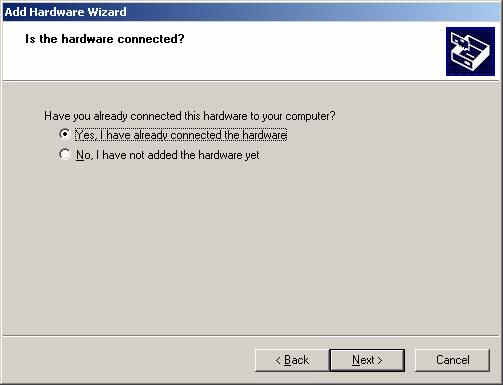
4. You will next be asked if the hardware is connected. You can select Yes from the options and click Next.
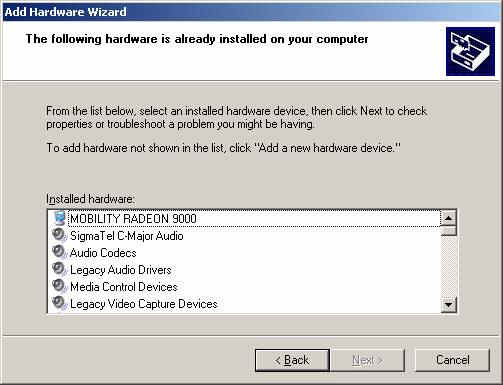
5. Now, select from the bottom of the list the 'add a new hardware device' and then click Next.
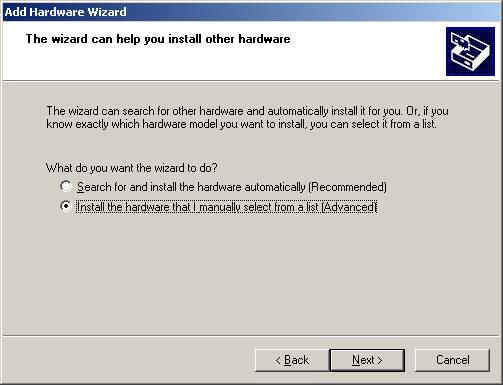
6. Click "Install the hardware that I manually select from a list" , and then click Next.
7. Select 'Network Adapters' from the Common hardware types section within the dialog box and then click Next.

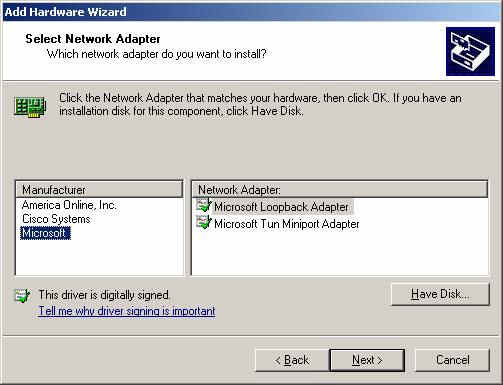
8. Select Microsoft and then the Microsoft Loopback Adapter, and then click Next.
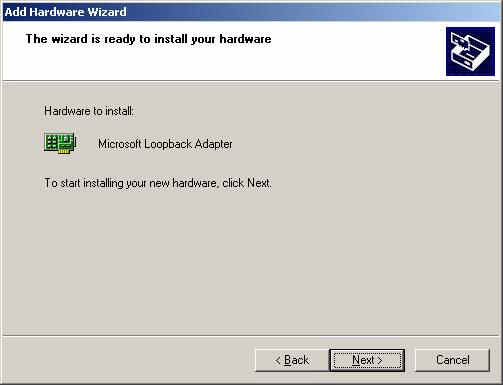
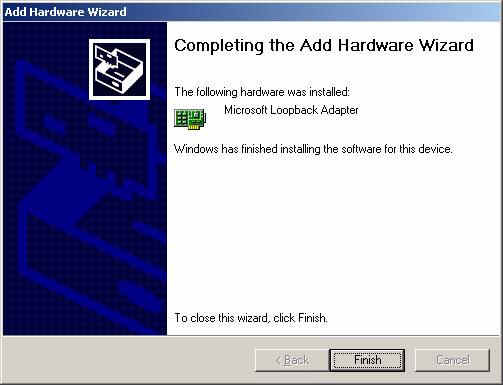
9. Click Finish after the above dialog is shown. The Loopback Adapter is now installed on your standalone system.
To add PLUS Server to your Startup folder (that will make it work each time you start the windows and you will see it in the system tray), please follow the below instructions:
1. Click Start->Programs, then right click on Startup folder and choose Open.
2. On the Startup window, go to File menu and choose New->Shortcut.
3. In the dialog box click the Browse button to specify the PLUS Server program, it's by default at C:\windows\tcps.exe (Where C is the partition that Windows OS is installed).

4. After specifying the program path, click next.
5. Change the name of the program from tcps.exe to PLUS Server and click finish.
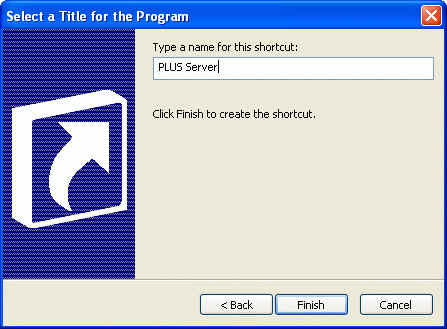
6. Then you will see a new shortcut icon in the Startup folder.
![]()
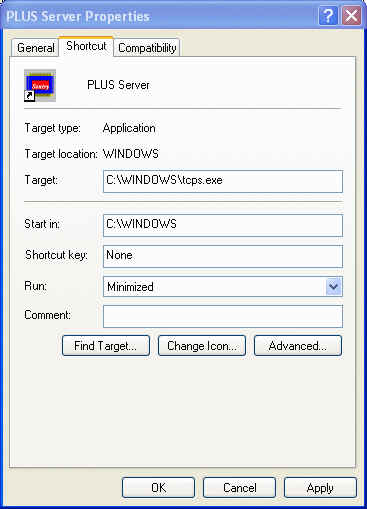
7. Right click on that shortcut and choose Properties, select Minimized from the Run combo box, and click Ok, then close the Startup folder.
8. At the next time you start your computer the program will run automatically and you will see it in the system tray.